 Your Privacy Choices
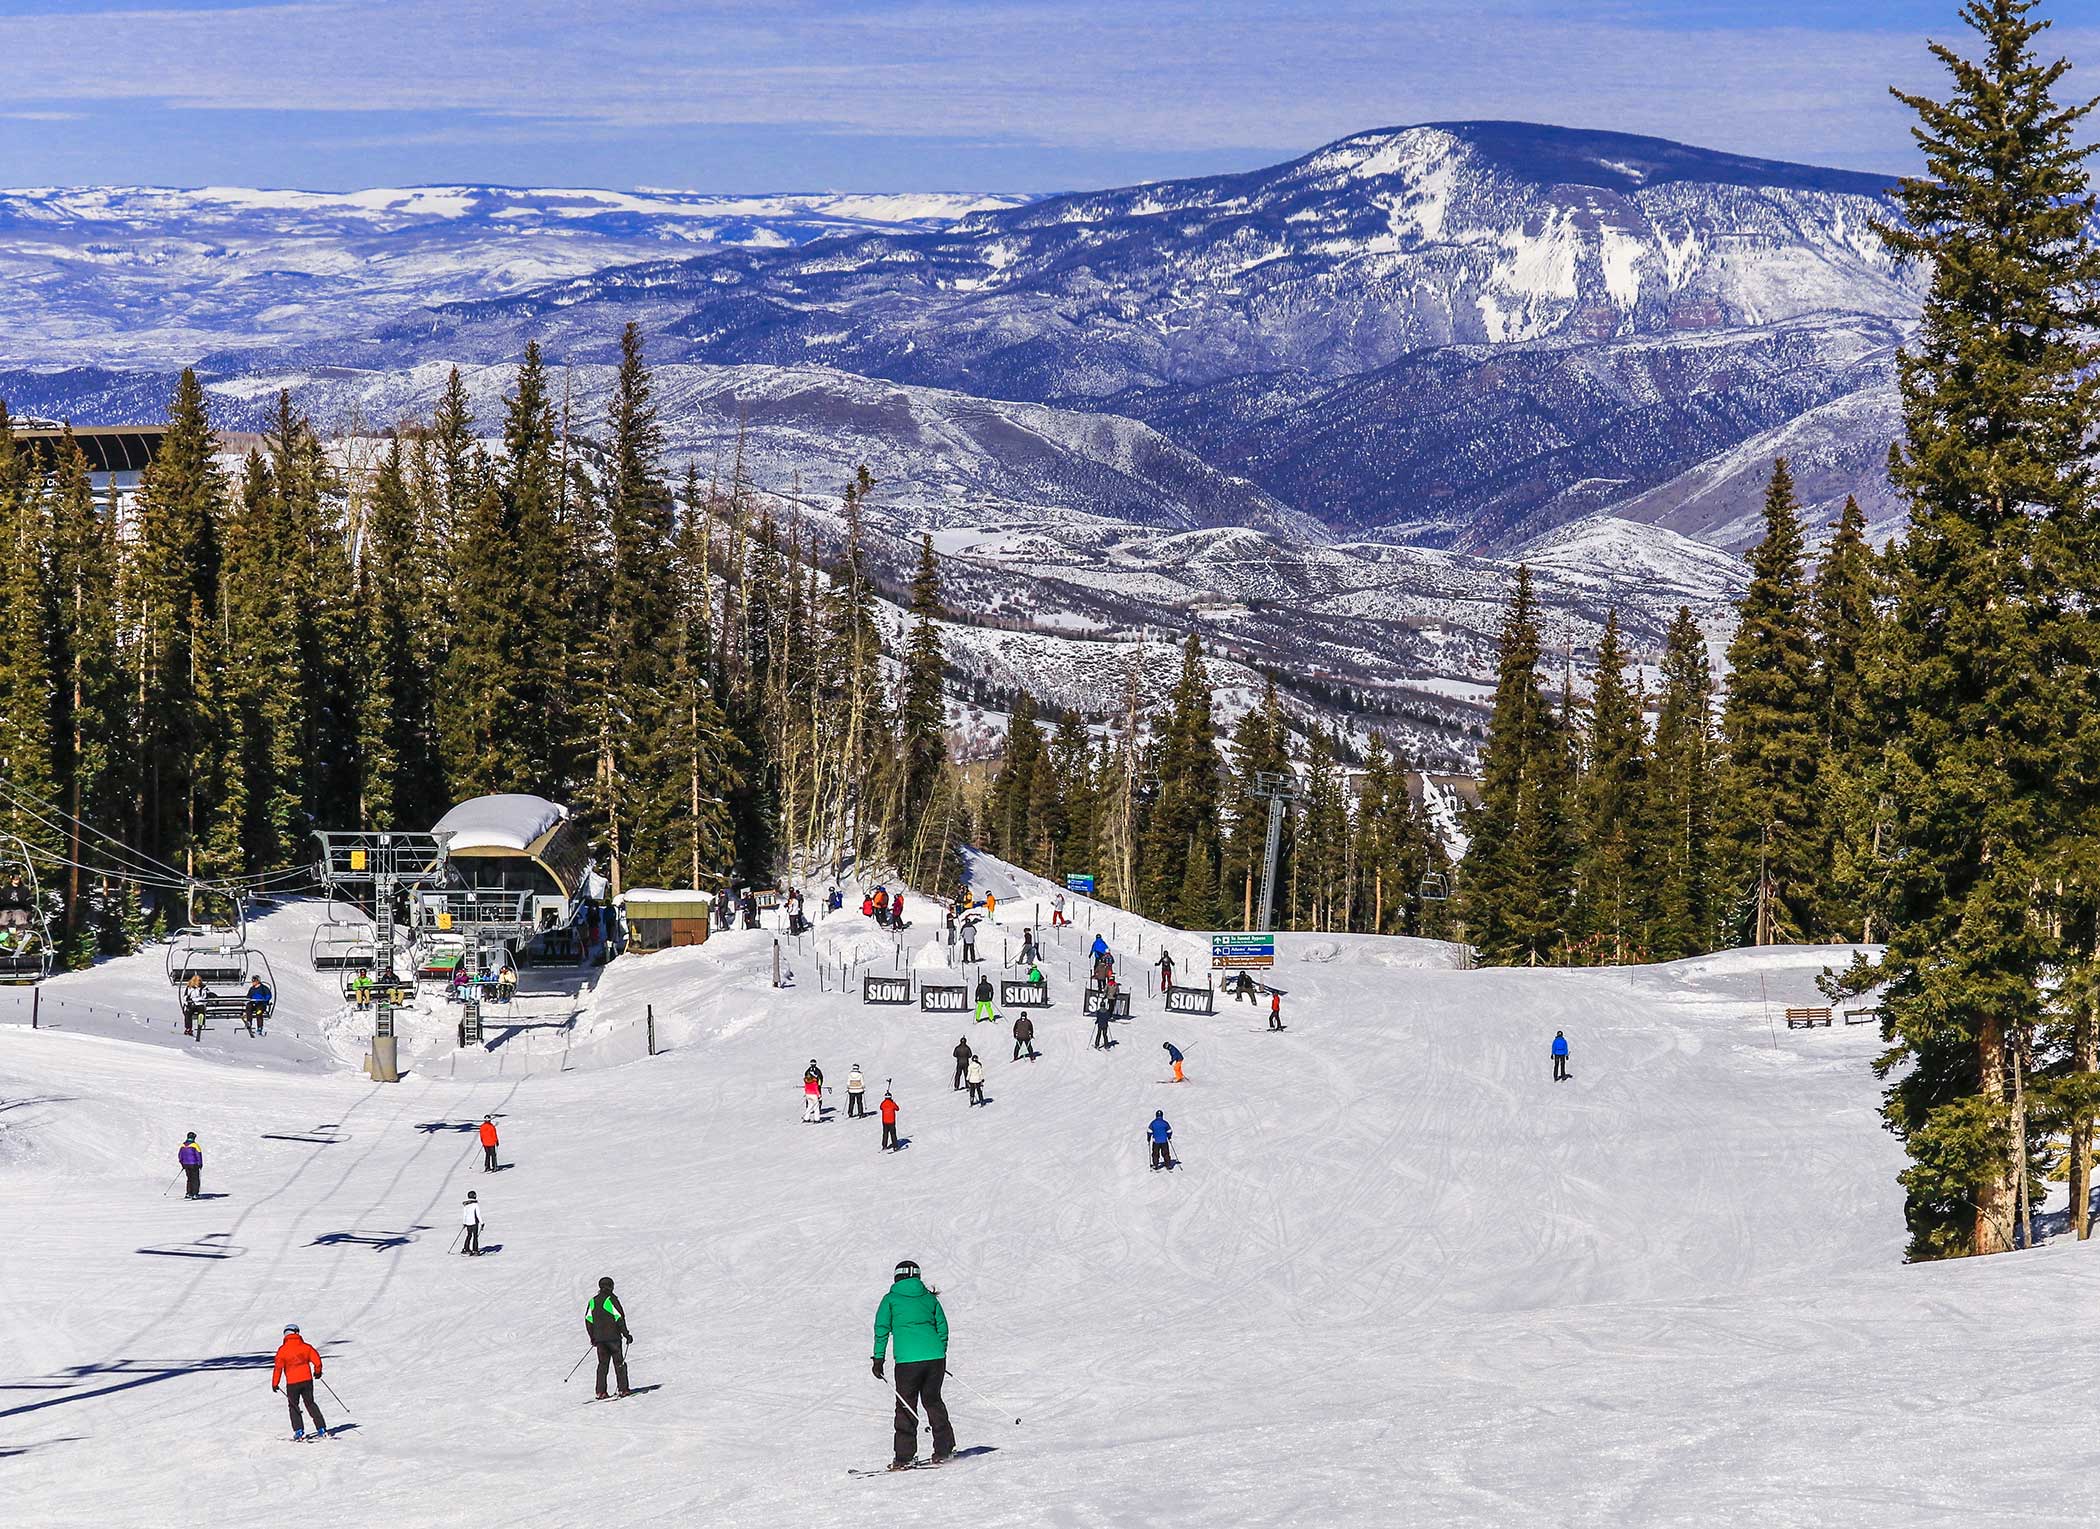
Image by LanaG, Shutterstock
Starting a new activity as an adult can be intimidating. As a child, it is common for parents to put us in all kinds of activities — from sports like soccer and track to artistic pursuits like painting and ceramics. As we grow into adulthood, the opportunity for trying new activities tends to fade. The thought of “starting over” with something new can feel overwhelming, especially with an action sport like skiing.
You might be thinking “Will I fall?” or “Am I going to embarrass myself?” You will most likely fall on your first day, but that is part of the learning process! Embracing the challenge is part of the fun and taking a lesson is highly suggested as it will give you a safer and more enjoyable first day skiing.
With a bit of patience, determination, and preparation to step outside your comfort zone, you can look forward to rewarding days on the slopes.
Before Your First Day
A successful first day skiing starts with a little bit of research beforehand. Yes, you can usually show up at your local ski area and buy a ticket, rent gear, and take a lesson same-day but it will be expensive and you risk the lessons being full.
When looking at your local ski areas, take some time to peruse their website and trail map. The runs best for beginners will have a conveyor lift (usually called the Magic Carpet) and are marked with a green circle. Every ski area should have a learner’s hill, but some areas are more beginner-friendly than others. Feel free to give the resort a call to ask questions or drop in your local outdoor gear shop for tips.

Image by Arina P Habich, Shutterstock
For your day on the slopes you are going to need to purchase three different items: a lift pass (that gives you access to the mountain), rental gear and reserve a lesson. Some ski areas give you a discount if you are purchasing all three or buy multiple days at a time. Inquire with your local resort if they have any package deals. When you book the lesson, be sure to indicate you are a beginner adult so they can put you in the correct group.
Dress for Success
The biggest killer of an enjoyable day on the snow is not dressing properly and shivering in your ski boots. Check the weather for the day you plan on skiing and dress accordingly. Temperatures can vary from 0°F or below to 40°F or above depending on the time of year, elevation, wind chill, and local climate.
If the temperatures are in the 20s and 30s, I typically wear three to four layers. On the bottom, I suggest having a base layer like long underwear with jogger pants in the middle, and then snow pants as the outermost layer. On top I will have a base layer like long underwear, a long-sleeve shirt, sweatshirt or zip-up, and then snow jacket. For your feet, one pair of athletic wool socks should do the trick. Do not double up on socks as it will create friction inside your ski boots and cause blisters.

Image by DisobeyArt, Shutterstock
As far as headwear, I have always found my ski helmet keeps me warm enough and you should get a helmet when you rent your gear. If you feel you need something extra, a thin merino wool beanie should fit well under the ski helmet. Ski goggles are optional, but can be helpful if it is snowing or a particularly windy day.
An essential is a sturdy pair of waterproof gloves or mittens. Hands and fingers are one of the first body parts to get cold and a solid pair of gloves can help you last longer outside and get more out of your ski day.
Forgot something day-of? Most ski areas have a ski shop with essentials like hats, gloves and other gear not available in the rental shop.
What to Expect on Your Ski Day
The first step is to arrive early! Plan to arrive at least one hour before your lesson is slated to start as you will need that time pick up your lift pass and get fitted for your rental gear.
Once at the mountain, you will need to either pick up your lift pass at the ticket window or access it on your phone, depending on your local skis area’s system. After putting that in your ski jacket, the fun begins! Make your way to the rental department and they will help fit you with ski boots, skis, poles, and a helmet. At some resorts helmets are optional, but I highly recommend wearing one at all times while on the mountain. I never ski without one, even as a 27-year skiing veteran.
Fair warning, ski boots are going to feel very different than a regular shoe. The plastic holds your foot in a specific position so you can control the skis, and it is probably much stiffer than any other footwear you have tried. For a more comfortable fit, make sure you can tilt your foot left and right on its vertical axis and you can wiggle your toes.

Image by HOMONSTOCK, Shutterstock
After looking snazzy in all your new gear, you can head to the meeting area for the start of your lesson. Each ski area has a different spot where lessons begin so check with the ski school desk to see where to meet your instructor.
Next is the moment you’ve been waiting for: Time to go skiing! In a beginner lesson, expect to work skills on flat terrain first to get used to having skis on your feet. Then, when you are ready, you will head up the easiest hill (usually called the bunny hill) to learn how to stop and turn. I can almost guarantee you will take a few falls in that first lesson, but with some determination and grit you will be sliding in no time.
Most importantly, be safe and have fun. It can be intimidating and frustrating when a new skill doesn’t come naturally, but setbacks make it even more satisfying when you master the slopes.
Happy skiing!
Lauren Loria-Corbat is a writer and photographer who skis, rock climbs, hikes and backpacks. She loves introducing people to outdoor sports through journalism as well as hands-on teaching as a ski and climbing instructor.