 Your Privacy Choices
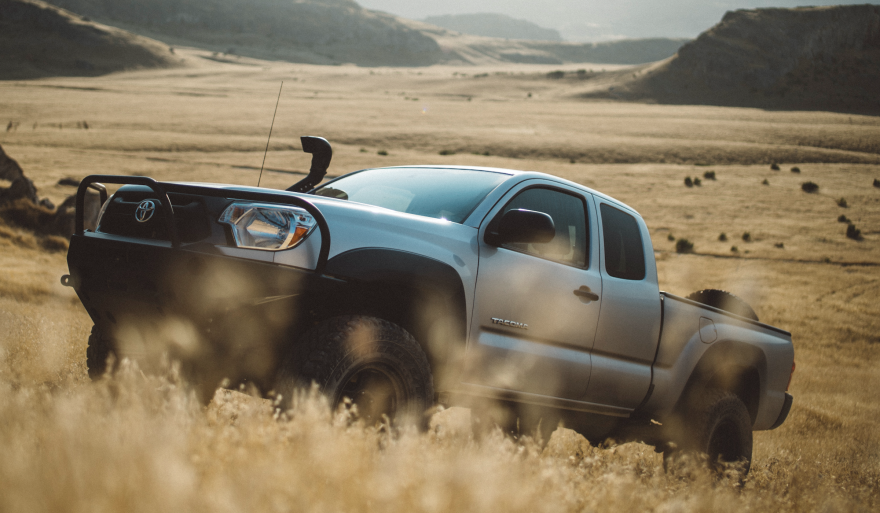
It’s no secret that a lot of us like to share our off-road adventures online, whether on forums or social media. I find that the most interesting trip reports include quality photography that conveys the beauty of the outdoors and the feeling of a successful overland trip.
I have a few tips that apply no matter the camera – these work whether you’re using an iPhone, a point and shoot, or an expensive DSLR.
Choose a Point of Interest
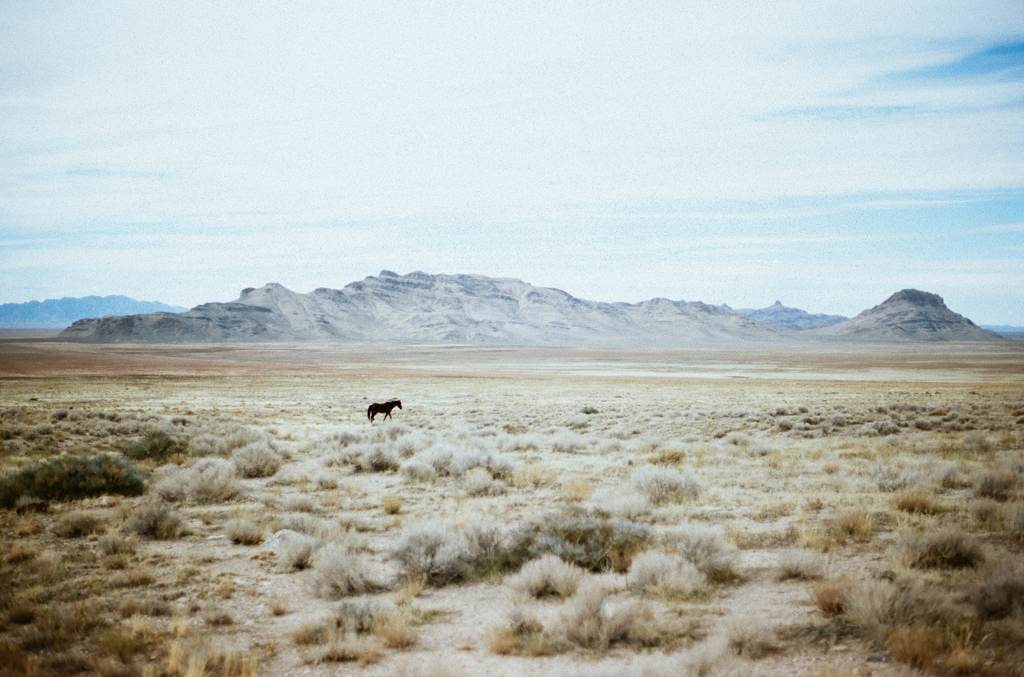
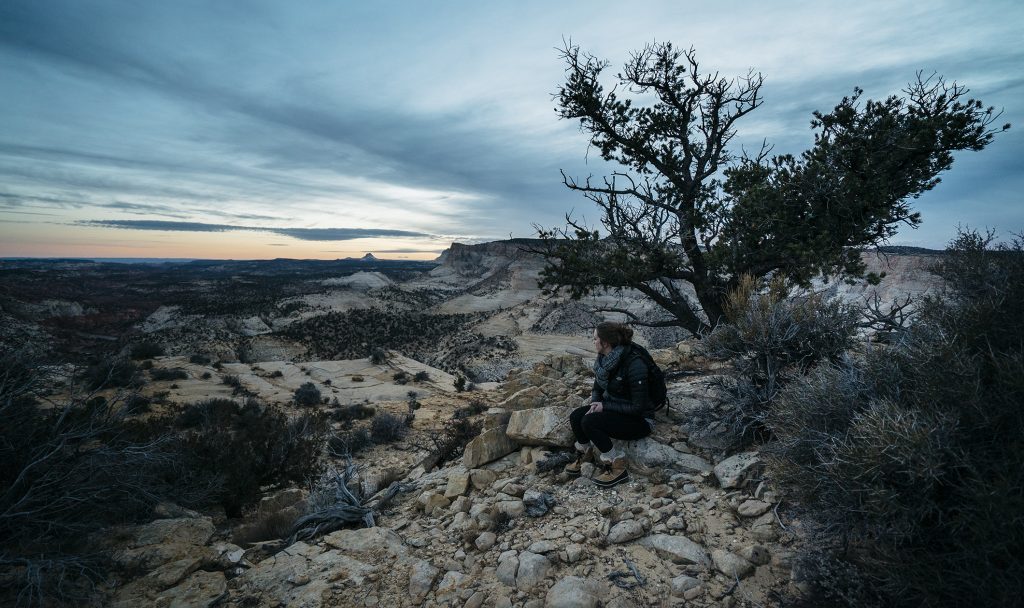
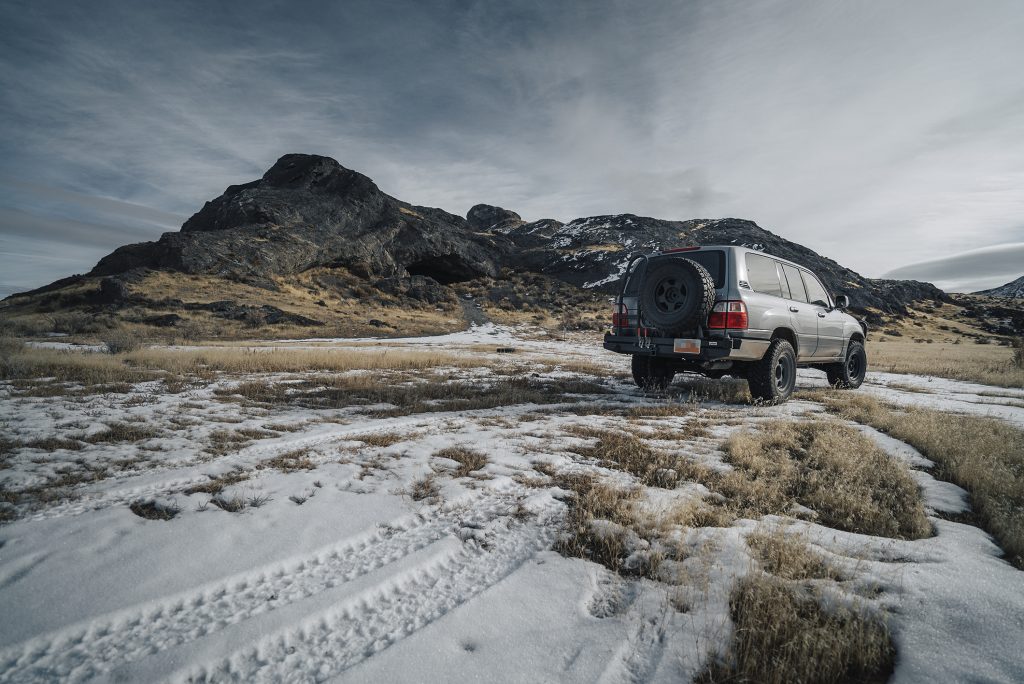
If you spend enough time looking at landscape photography on Instagram, you’ll notice that photographers often include people in their photos – walking toward the mountains, looking up to the stars, or sitting in a tent. This gives photos a focal point, or a point of interest, and it gives the photo a more dynamic, interesting composition, with something to draw the eye.
Seasoned landscape photographers often employ similar tactics, using a tree, waterfall, or other natural feature as the main subject with more landscape in the background. It can be tough to create an interesting composition when all you have is a landscape with nothing to draw the viewer’s eye.
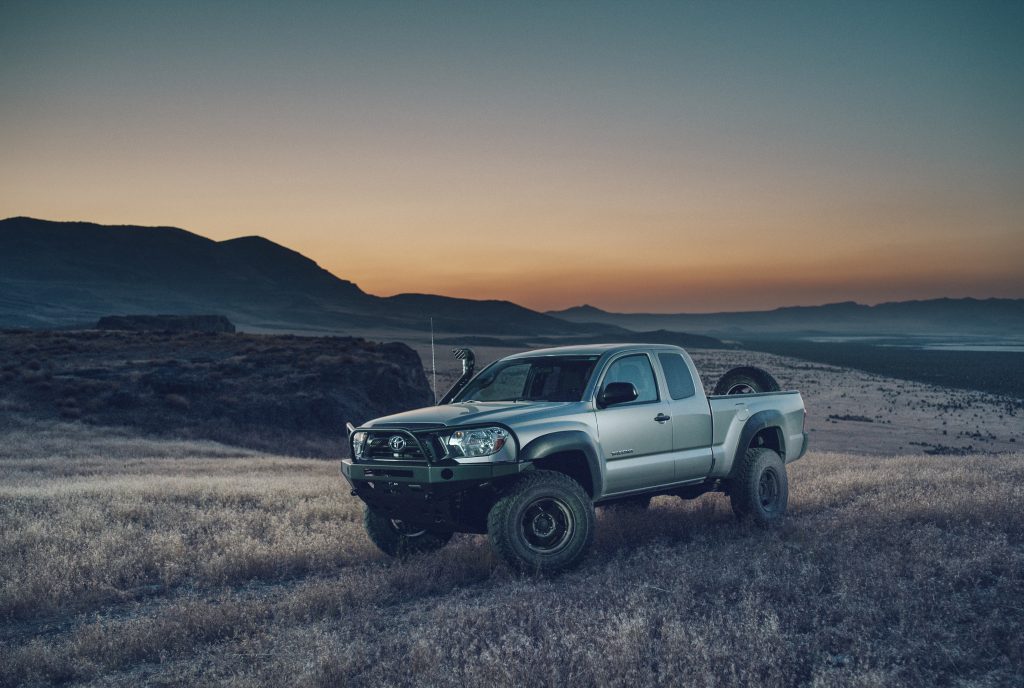
Overland photography often ends up as a mix of landscape photography and vehicle photography. It’s a perfect combination, as the vehicle provides an instant focal point. Now all that’s up to you is to find a nice landscape photo, and throw a truck in the middle.
The Right Light
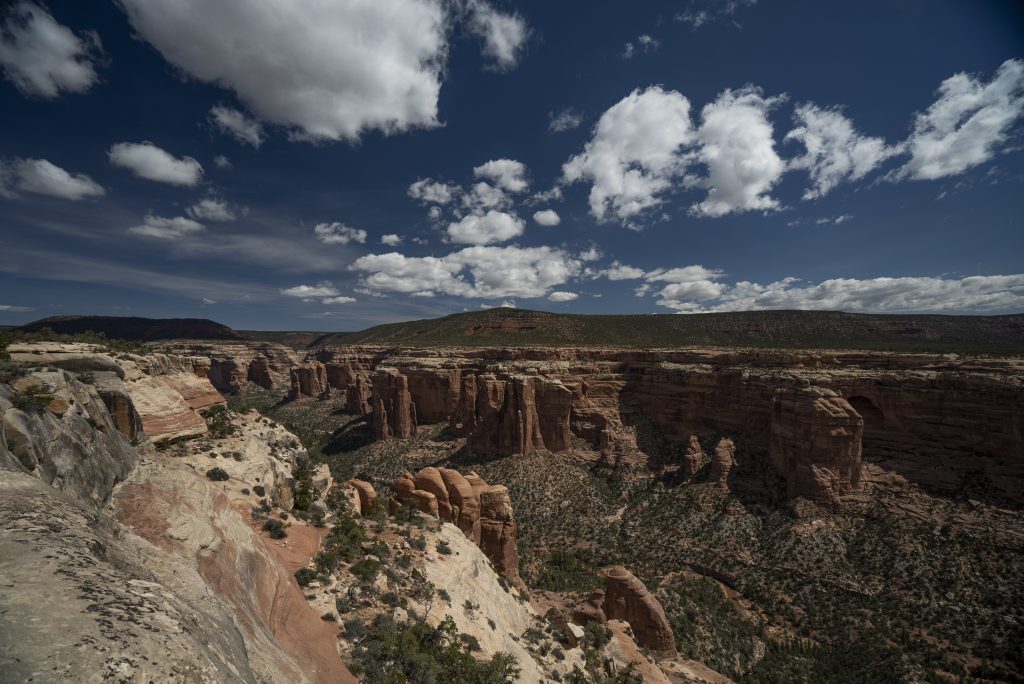
Photography, when boiled down to the most basic principles, is all about finding the right light and using it to create a picture. I often tell people they don’t need to run out and buy an expensive camera right away – instead, start shooting photos on your iPhone, or Galaxy, or whatever you have, in good light.
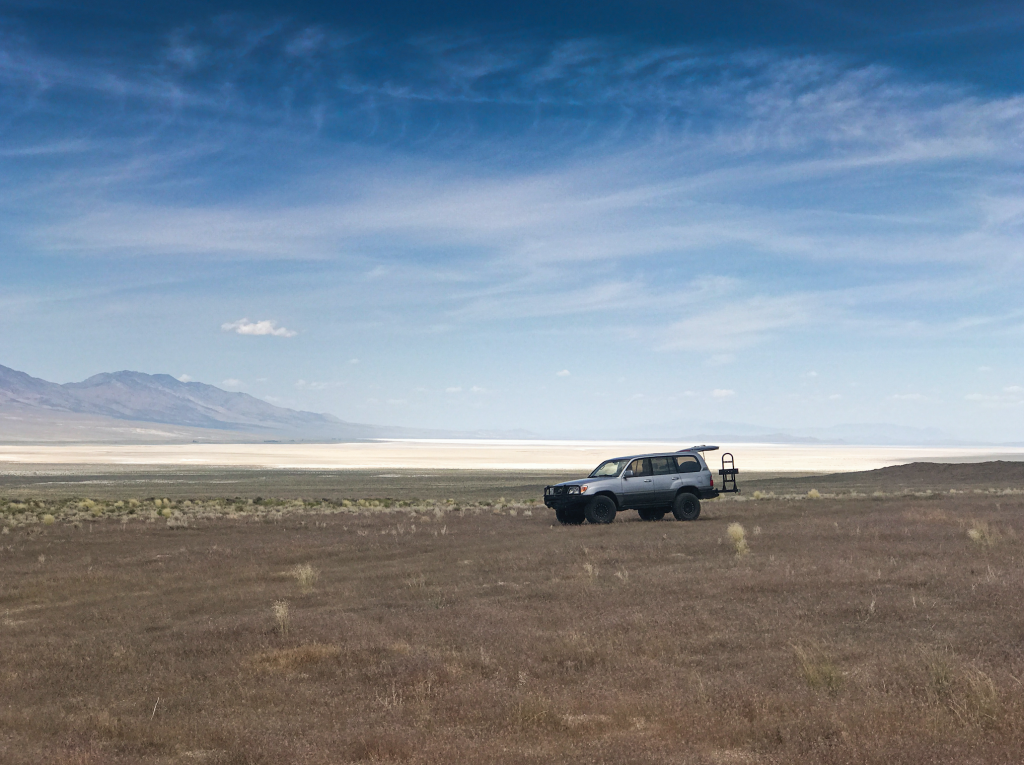
(Shot on an iPhone 7 Plus)
(Shot on an iPhone 7 Plus)
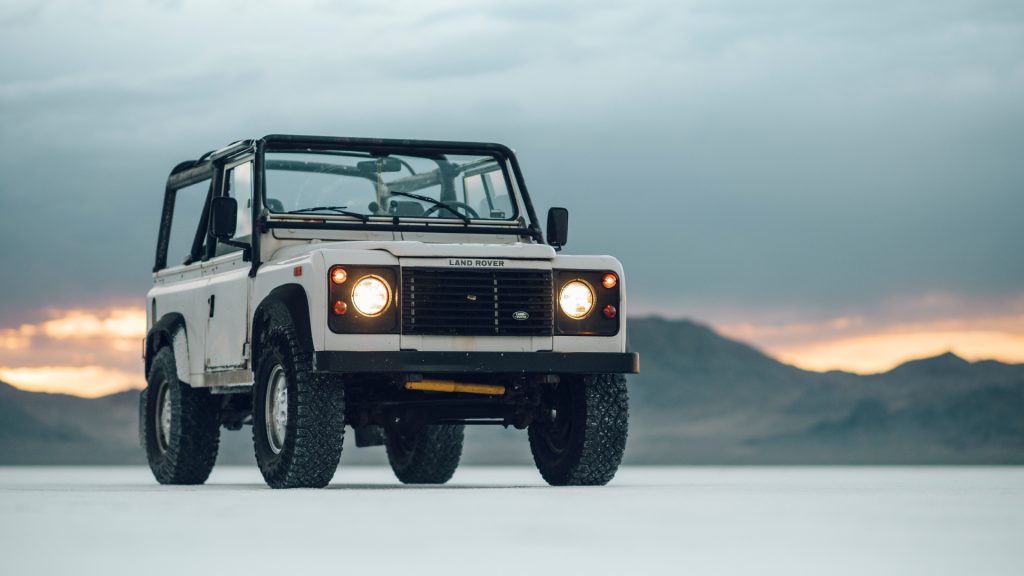
Some of the best light is often referred to as “Golden Hour” or “Magic Hour” – around sunrise and sunset. My personal favorite is sunset. With the haze from the day settling, the sun setting and casting light onto the clouds and mountains, you can’t go wrong when shooting photos. Shadows aren’t as harsh, and you often get beautiful color on the landscape. Photos shot at golden hour are just a lot more pleasant to look at than photos taken in the middle of the day.
Rather than rushing through a trail, stopping at a view point and snapping a quick photo at 1pm, try waiting around til sunset – you’d be surprised how differently your photos will turn out.
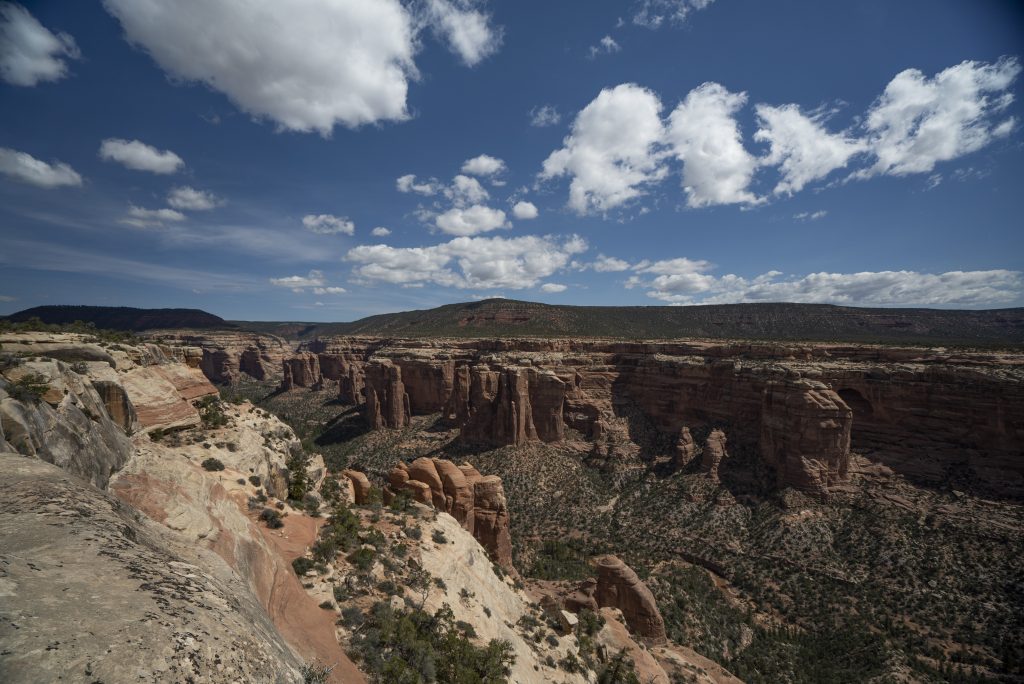
Composition
The general rule of composition is to break your photo into thirds. As we’re talking about overland photography specifically, I usually end up with a vehicle or subject in frame that I put on either the left or right third, facing to the middle of the picture.
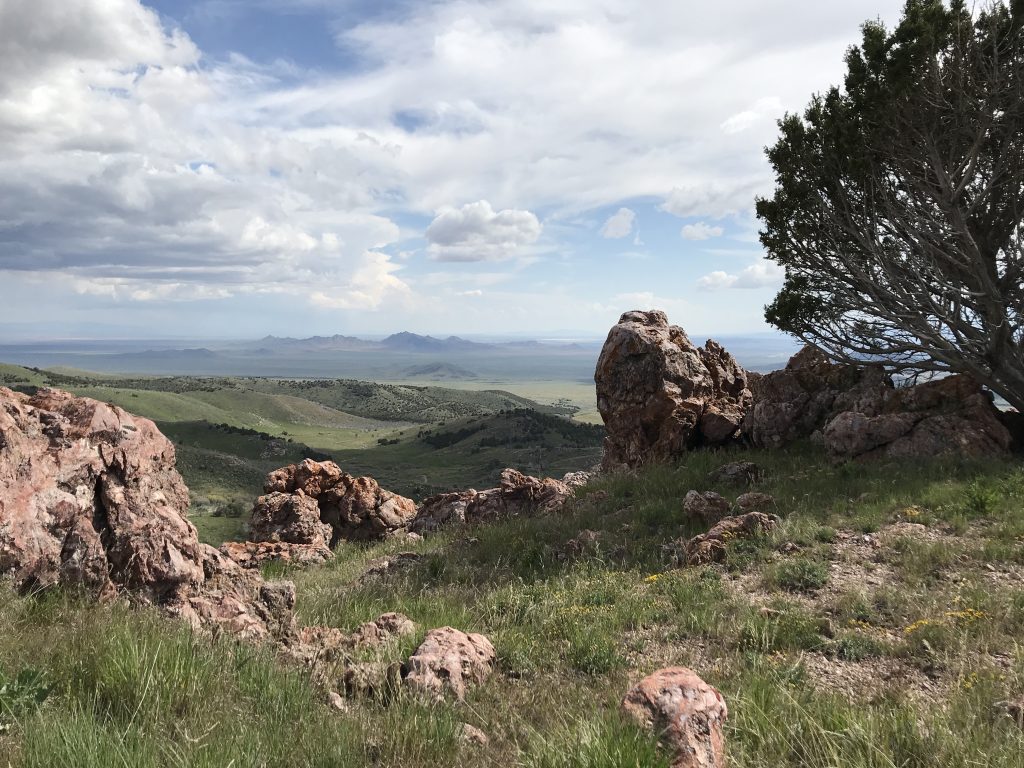
Change your height
Many people, from amateurs to pro photographers, often fall into the trap of becoming complacent with their shots and shoot everything standing, at eye level. Play around with angles – try getting lower. Trucks look awesome if you can get a low angle of one crawling over an obstacle. You can also get higher – look for a hill or cliff you can shoot from to show your rig from up high.
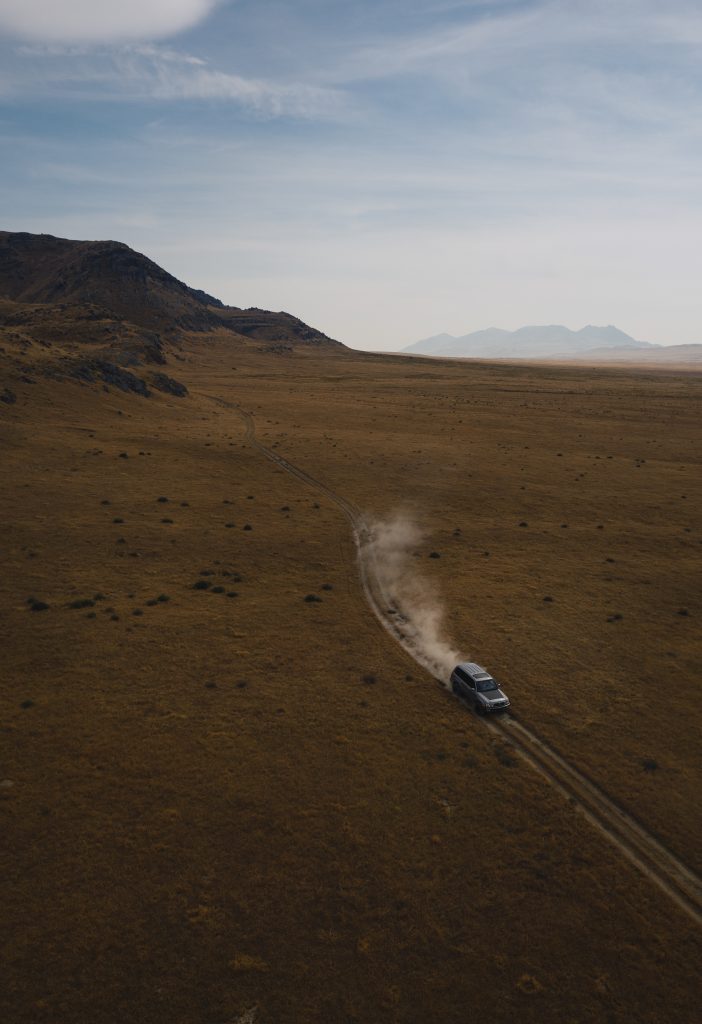
Or with a drone, you can get much higher for a completely different perspective.
Once you’ve mastered the basics of composition and photography, there are a few tips that come with a more advanced camera setup.
Polarizing filters
A circular polarizer does double duty when shooting vehicles off-road – it darkens the sky and changes the nature of reflections on metal, water and glass. You can rotate the filter to change the intensity of the effect.
No polarizer:
Polarizer:
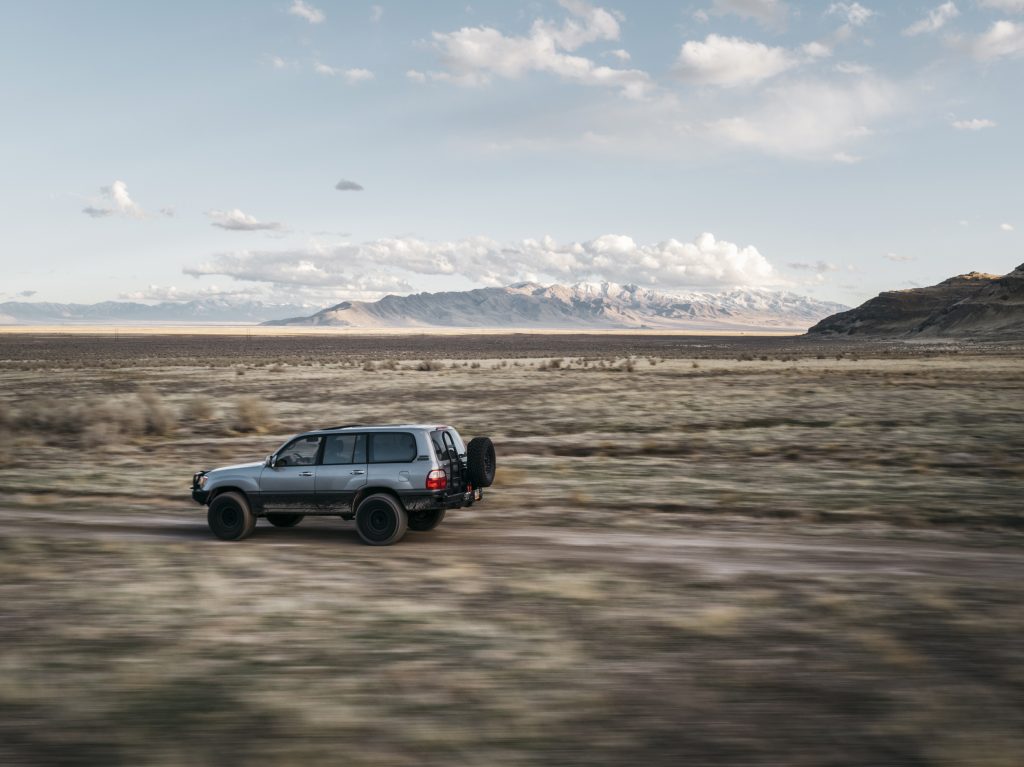
Wide Lenses vs Telephoto Lenses
I often find myself using a wide angle lens when shooting landscapes, but it doesn’t have to be your only landscape look. When shooting trucks, I find that a more mid range or telephoto lens can have a dramatic effect. Your photo may not be as focused on the landscape around, but the truck will pop.
Wide:
Telephoto:
Slow Shutter
Some of the best landscapes you see will have an almost indescribable “magic” quality – it’s called slow shutter. When an exposure is slowed down to several seconds or even minutes at a time, the water in a waterfall or the clouds in the sky blend together to create a dreamlike smooth texture in the photograph.
You’ll usually need a tripod to do this, which takes me to my final tip.
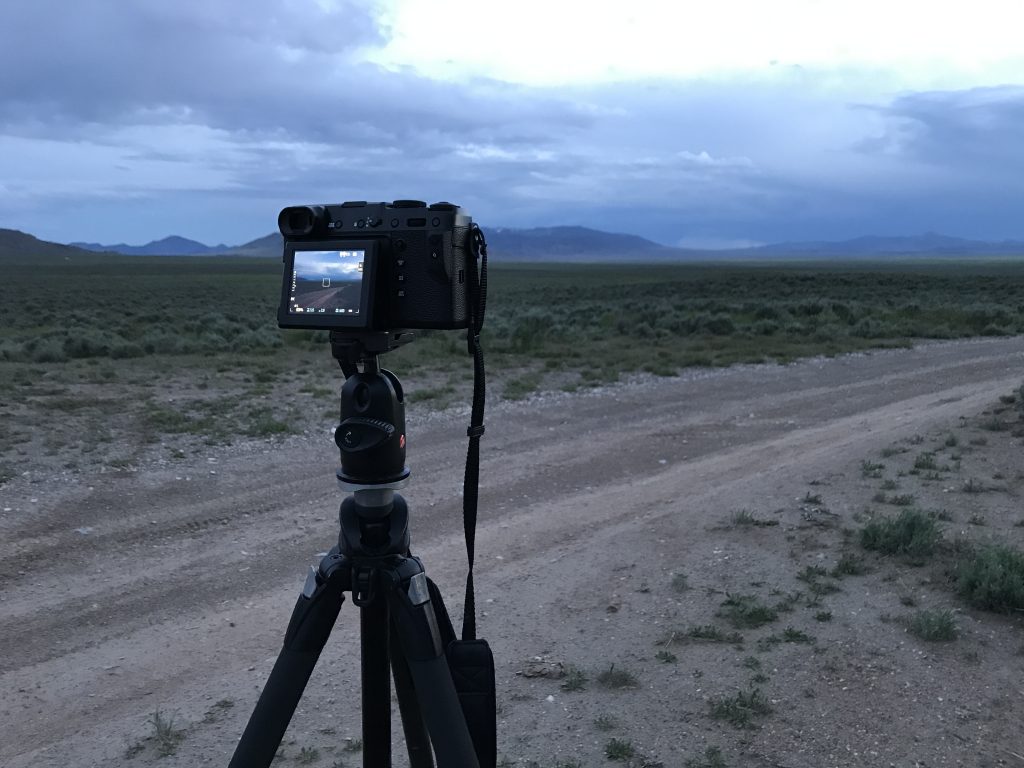
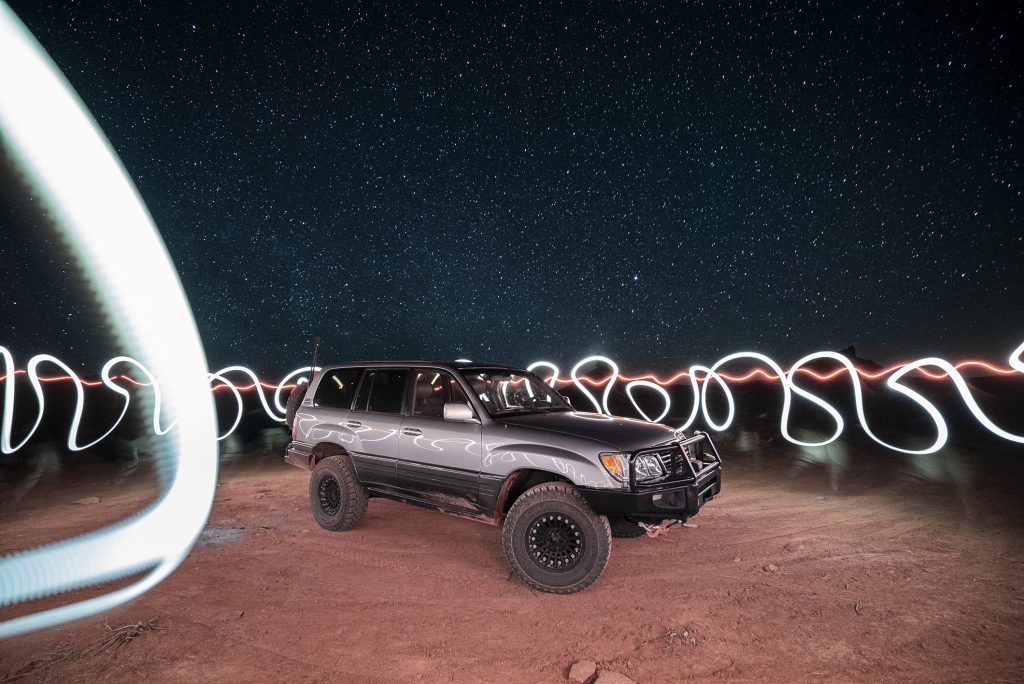
Use a Tripod
Using a tripod to slow down and create compositions can help you discover new styles and angles. For example, I set my camera on a tripod with a 60 second exposure to capture the stars around my cruiser. I then realized that I’d like to have my truck lit up a little more, so I walked around with a small lantern. I accidentally got into the picture on the first try, so I thought, why not get even more light in there? I ended up with my favorite photo of the trip by doing that.
Having said all that, once you know the rules, you can break them if you feel like it makes a better photo – don’t feel like you have to follow this advice 100% of the time.
If you’re looking for resources, look up tutorials on landscape photography and vehicle photography and remember that overland photography is a blend of the two. Getting out and capturing trips and epic scenery can be just as rewarding as the rest of your overland trip. The best first step is to just get out and try. Every time you practice photography, you’ll improve.