 Your Privacy Choices
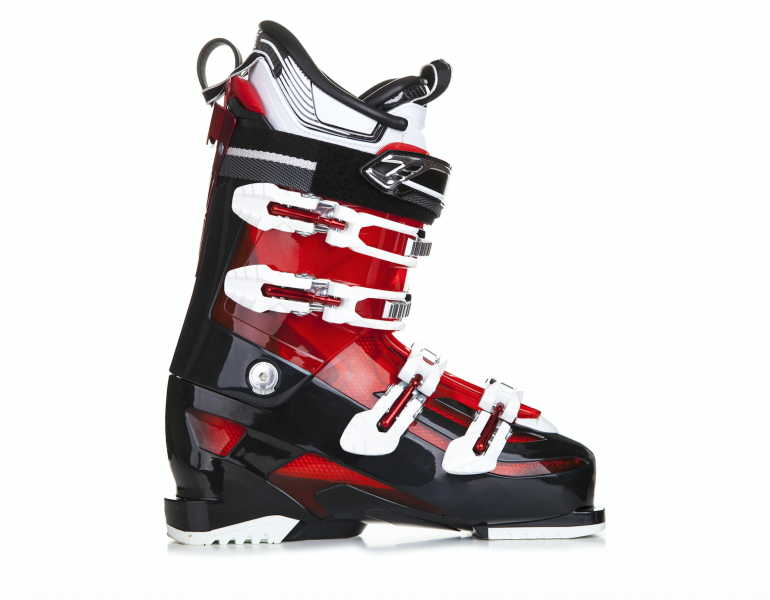
Have you ever needed a tune up on your ski boots? If so, here is how to adjust ski bindings.
Correctly adjusting your ski bindings is one of the very best things that you can do to increase the safety of your skiing trip.
That being said, adjusting your ski bindings is not always the simplest of tasks, and there are multiple steps that you are going to have to follow in order to do so. There are a variety of factors that need to be taken into consideration, including the level of the skier, the terrain, the size of your ski boot, and so on.
But all that being said, the general process for adjusting your ski bindings will remain largely the same, and the process that you will need to undergo is what we’re going to discuss today.
Here are the basic steps that you will need to follow in order to adjust your ski bindings:
1 – Adjust The Front of Your Binding
The very first thing that you need to do, without question, is to adjust the pressure and the length of your bindings to match the size of your boot.
If you pay attention to your bindings, you should notice that they have a millimeter counter on the front, which you can use to match up to the size of your boot’s sole. The length of your boot’s sole should be printed on the heel of your boot.
2 – Position Your Boot Into The Binding
And specifically, you want to position the boot in the binding so that the toe of the boot fits into the front of the binding.
Once you lock the boot into the binding, check the midsole and the forward pressure system, and ensure that the middle of the boot is matching with the middle of the ski.
3 – Calculate The DIN Number
The DIN number is so name because it is a standard that was set by Deutsches Institue Fur Normung. It basically determines the amount of force that is required in order to release your boot from the binding, as it indicates your release force setting.
The DIN number will need to be calculated based on a number of different factors, including your weight, age, height, skiing ability, and boot length. You will also need to calculate it with the aid of an online calculator, which will give you a number between two and seven.
Why is calculating your DIN number important? Well, the reason is because you will next need to…
4 – Adjust Your Toe Piece To Match The DIN Settings
Utilizing a screwdriver or similar tool, rotate the screw in the front of your ski binding until it matches your calculated DIN number from the previous step.
If you pay attention to the toe piece of your bindings, you should notice that it has an area displaying several numbers. When you turn the screw to move the indicator, you can get it to match with your DIN number.
5 – Test It Out
At this point, the only thing left for you to do will be to test your boots out!
When you position your boots into the bindings, always do so with your toes first, and then use your heel to lock the binding into place.
Also ensure that your brakes are properly positioned as well. Whenever your binding is open, the rear brake should be parallel to your ski, but it should snap into a forty five degree angle when it is closed.
To unlock the binding, you can use your ski pole to push down on the brake. If you feel or encounter any resistance when releasing the bindings, that is completely normal. Then, just use your released foot to step down on the other binding in order to release it to free your other foot a well.
If you need new bindings, you can buy them here!
![]()
Image Courtesy of Shutterstock