 Your Privacy Choices
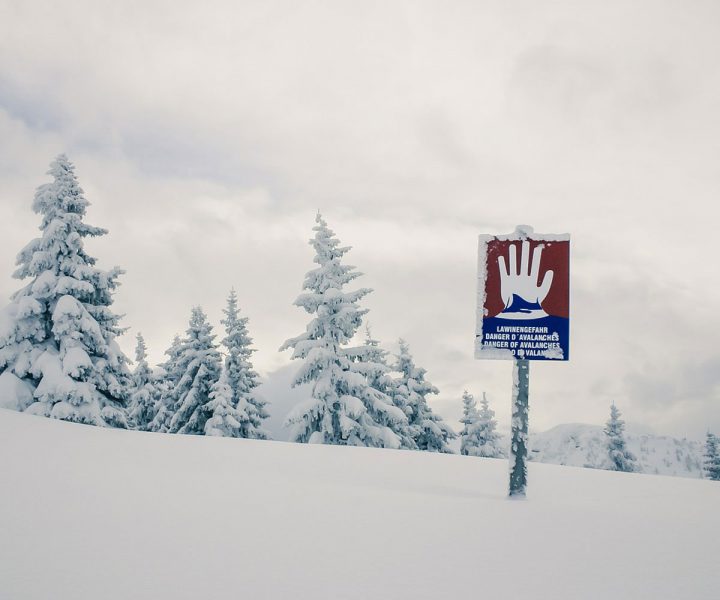
The leading cause of death when it comes to avalanches is asphyxiation i.e. oxygen starvation. In the 2016-17 ski season, there were a reported 12 deaths from avalanches in the US, down from 30 the year before. With the amount of people on the slopes each year, it might not seem like a shocking number to you. However, the truth is that anyone can fall victim to the powerful snow movements and it only takes one lapse of judgement.
Like any sort of survival situation, prevention is the best form of keeping yourself safe. There are a variety of skills and equipment you can obtain in order to keep yourself safe on the slopes or in the backcountry. In this article, we’re going to narrow our focus on snowpack tests which help to determine the likelihood of an avalanche and how devastating it may be.
What does snowpack mean?
The term snowpack is used to describe the layers of snow that build up after different series of snowfall. As the layers of snowpack are formed, they go through a freezing and thawing process which helps to compact them and make them stable. Because each snowfall is different and has different crystals and each crystal contains different amounts of moisture. Large, weak crystals falling onto tight snowpack, for example, can create the recipe for a snow slide.
The Rutschblock test
Although there are a few different ways you can test snowpack for avalanches, this one is excellent to determine roughly how much force is required to trigger one. The Rutschblock (rootch-block) test is one of the most reliable ways to determine the snow’s stability. Here’s how to go about it:
- Site selection is crucial – choose an area that will mimic the aspect of the slope you’ll be venturing on. Don’t put yourself in danger here.
- Isolate a 2m x 1.5m snow block from the surrounding snow – you can use a thin cord or snow saw to make sure the back of the block is isolated from the snow around it.
- Now, it’s time to test the snowpack by progressive loading, starting from a small load through to large, seeing when the snowpack gives way.
- Does the snowpack slide when you’re cutting or digging the snow? This shows that it is high risk of avalanche.
- Have a skier stand on the block (with skis on). Does it hold up?
- Have the skier test the block by bending their knees.
- Get the skier to perform one jump on the block to see if it holds.
- Have the skier perform a second jump and monitor the block.
- Now, have the skier jump onto the middle of the block without skis on.
The earlier in the test the block gives way, the more likely an avalanche is of happening. This test is highly useful to allow you to see how stable the snow is that you’ll be using. If the block holds until the final step then this means there is a low chance of an avalanche on a slope of similar gradient.