 Your Privacy Choices
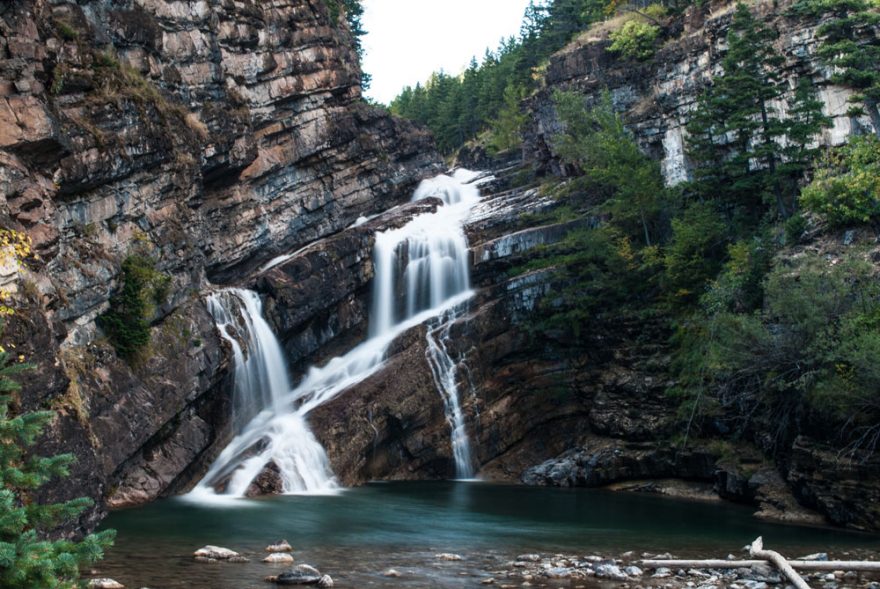
Undoubtedly, waterfalls are one of nature’s most beautiful features.
There’s nothing quite like coming to the end of a long hike and catching a glimpse of a waterfall. Many avid hikers walk miles out of their way simply to sit and stare in awe.
What’s more, the deafening roar waterfalls can deliver is truly astounding at times. You can often hear them before you see them. But, when you do walk around that last corner, the view is almost always worth the hike.
Although waterfalls are incredibly easy on the eye, have you ever noticed how hard it can be to capture it properly on camera? It can be difficult to capture the magnitude and sheer force of the water, all while fitting in the stunning surroundings.
That’s because, like any form of photography, there is an art to capturing the perfect waterfall picture.
Follow these waterfall tips and you’ll never walk away from a waterfall again without taking the memory with you. Although this is a beginner’s guide, even regular photographers will be able to pick up a few tips.
Camera Gear

If you’re not a professional photographer (or at least amateur enthusiast) then you’ll likely have no clue when it comes to which camera you need. Don’t worry, we’re not expecting you to have the setup in the above photo!
Of course, with modern phones you can actually capture nice shots and save yourself the time and effort with fancy gear. For waterfalls though, the added aspect of fast moving water and possibly dull lighting means that a DSLR will be best.
What You’ll Need
The essential items for photographing a waterfall include simply a camera and a tripod.
Now, you don’t need to bring a full-sized tripod with you; that can be a bit clumsy and hard to carry. Those small, bendable tripods are perfect if you need to hike to your location. They are also very versatile if the ground is uneven or you need to set the shot up on rocks or a branch.
The type of camera you choose to bring really comes down to how serious a photographer you are. A basic to middle-range DSLR should do the trick. Professional cameras, like the Canon 5D are great if you have them, however as you’ll learn, the quality of your camera gear is less significant than how you set up and take the shot.
As well as the camera, you also you need to think about the lens. A wide-angled lens is probably best for shooting waterfalls because there can be a lot of scenery to capture, as well as just the water.
Composing the Shot

The first thing you should begin to think about it how to set up the shot. This is one of the most fundamental aspects of photography which can make or break your shot (aside from camera settings).
Rocks, pools, trees?
Having a natural eye for taking a good looking photo certainly helps, however you can learn how to compose a photo. Here are some things to consider when setting up your shot:
Rock formations: are there any nice rock formations around the waterfall which should be included? Maybe the rocks look a bit odd in there, so you can try to not include them.
Centre the waterfall: where is the waterfall positioned in the shot? Often, it looks better right in the centre, however maybe an interesting angle would be to have it coming from one of the corners.
Framing the shot: there are usually plenty of trees, cliffs or bushes near a waterfall. Allow these to naturally frame the shot (cover the edges) so that the eye leads to the water. It should be as if all the surroundings are pointing to the waterfall, wherever it is in your shot.
Water pool: if there is a really nice pool of water below the fall, make sure you’re not cutting this out of the shot. This will add a lot more context to your photo.
Capturing Size: one sure way to capture the size of the waterfall if it’s a big one is to plonk a person in the shot somewhere, possibly on a rock. This will really let you remember the scale of the fall.
Camera Settings

Again, this will be one of the most confusing aspects for beginner photographers. There are so many different combinations of settings you can shoot in and the scary part is, they make a big difference to your shot.
If you want to capture the movement of the water and make it look silky smooth, you’ll need a long shutter speed. The key is to experiment and not just settle for the first photo you take.
You may want to freeze the movement completely, making it look crisp. To do this, simply adjust the shutter speed to less time so that it captures as you want it to look.
If you notice that you have the right shutter speed, but the photo is either too bright or too dark, you probably need to adjust the aperture. The smaller the ‘f’ number, the brighter the photo should be. Similarly, the bigger the number, say f.15, the darker is should be.
Finally, try to keep the ISO number as low as you can, trying not to go above 400 if possible. Anything higher and you could end up with a grainy shot.
Retouching Your Photo
After you have your shot and you’re happy with it, you’ll want to show it off to all of your friends and family. But, here’s the next trick; post production.
This is something you don’t hear the professionals talk about all too often, however it can be transformational to a photo. Personally, I prefer to use Adobe Lightroom to retouch my photos.
Software like that can allow you to tweak colors and lighting to really bring out the best of the shot. Don’t go overboard with your edit, simply tweak and adjust. You can also crop your photo or straighten it up if you captured it squint.
Conclusion
There we have it. Let me know how you get on with shooting your waterfalls and be sure to tag us in any shots you get!