 Your Privacy Choices
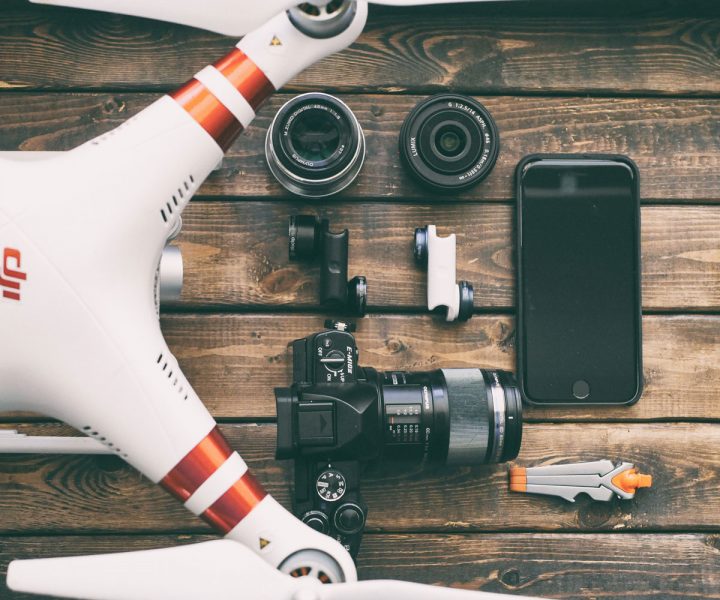
The landscape of photography is ever-changing and with the introduction of more accessible technologies like drones in recent years, the rate of change is accelerating. Not too long ago, drones were far too expensive for any decent quality and were only used by professionals.
These days, it seems every hobbyist photographer now has a drone in their arsenal and the results are fantastic. We’re seeing unique angles on some of the most iconic locations and starting to view the world around us differently. Drones aren’t without their problems though and do pose a certain risk but that’s for another article. In this article, we’re going to arm you with some simple tips to up the quality of your drone photography.
Tip #1: Shoot in RAW
Most people with a digital camera these days will understand the basic differences between shooting in RAW and JPEG. Essentially, using the RAW format doesn’t compress your images as much as JPEG and will allow for much more flexibility throughout the editing process.
Even if you’re just shooting to upload on the ‘gram, you’ll achieve far better results by doing so in RAW. When you upload your shots into Lightroom, you will maintain a higher quality as you tweak the tones and exposure.
Tip #2: Look down
You should learn to take advantage of your drone’s capabilities by scoping out every landscape from a bird’s eye view. Of course, not every place you go will look great from above but it’s incredible how a landscape can transform when you’re looking at it from directly above. Things like roads, rivers, and forests all make excellent subjects if you’re shooting from a bird’s eye perspective.
Tip #3: Find a leading line
This rule doesn’t just apply to drone photography but the results with a drone can often be far more spectacular. Aim to find a dominant line in a landscape which will lead your eye throughout the photo, far into the distance. For example, a long open road can really help to give a place a sense of scale and focus the eye on the correct part of the shot.
Tip #4: Use someone for scale
With aerial photography, it becomes ever more important to give landscapes a sense of scale, since it can be hard to determine how big objects are without a point of reference. Place either yourself or a friend in an interesting place, for example, next to a waterfall or standing next to a cliff edge. You’ll be amazed with such a small trick how it much it improves your shot.
Tip #5: Use bracketing
If you’re lucky enough to have it, this feature is super useful for making sure you get exactly the right exposure for the shot. In case you’re unaware, bracketing is the act of taking more than one photo at the exact same time but with different exposures. This means that if the sky is overexposed but the foreground isn’t, you can compensate later by merging the shots in Lightroom or Photoshop. Even if you don’t want to merge your shots, bracketing is still useful because you can later pick out the shot with the correct exposure rather than finding out it’s underexposed and unsalvageable.