 Your Privacy Choices
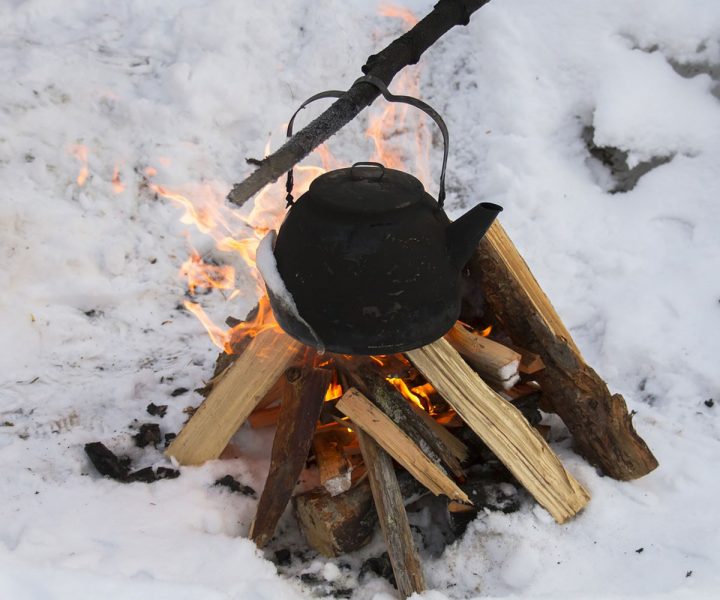
It’s hard to beat summertime camping. The warm air, the good weather, and settling down by the campfire watching the sun go down with few layers on yet feeling totally comfortable. For obvious reasons, camping in a harsh winter can seem far less appealing. It requires far more preparation and regard to safety and keeping warm becomes an even more critical forethought.
Winter time is one of the hardest seasons to survive, yet alone thrive, and if you are unable to build a sustainable fire then you’re going to be in some trouble. A simple camping trip or hike could quickly turn into a life-threatening situation if you’re not careful.
If you choose to do a spot of camping throughout the winter, it is crucial that you learn how to build a fire properly in the tough conditions. In fact, even if you aren’t camping, it is still an invaluable skill to have in your arsenal. For example, you may be out on a backcountry hike or a simple stroll and find yourself in a survival situation.
In terms of starting a fire, winter poses two main difficulties which you don’t normally face throughout the summer. Firstly, as the fire begins to blare, the snow will melt around it and turn into water which can douse the flames. Secondly, you need to raise the heat of the combustibles to a fire higher temperature in order to ignite a fire.
Tip #1: Fire placement
You need to take some time to consider the best location for your fire. The ideal location should be protected from the wind, snow, and water. For example, starting a fire under a tree may not be desirable in snowy conditions because the heat could melt the snow from the branches to have it melt onto your fire.
Make sure to clear any overhanging snow from trees and from the area surrounding your fire pit. After clearing snow from the location of your fire, create a pathway for snowmelt to run away. Additionally, you’ll need to clear an area for extra firewood and materials to keep them dry and warmer, ideally raised from the ground.
Tip #2: Building the fire
Raise your fire materials an inch or two above the ground in order to keep them warmer and allow any snow melt to run away without affecting your fire. If you’re building the pit on stones, leave a small gap between them as this will also help any water to run off.
The next thing to consider is having a heat reflector to keep you warmer. For this, you could use a rock face, cliff face or even the side of a tree. With these considerations in mind, you can continue to build your fire in the normal way, making sure to have some larger pieces of fuel to keep the fire going into the small hours.
Tip #3 Starting the fire
You should always carry something with you that could be used as a fire starter. This can be anything from good matches to a lighter as well as something like cotton buds for easy ignition. Additionally, a small pack of sawdust and some petroleum jelly can really help to get a blaze going.