 Your Privacy Choices
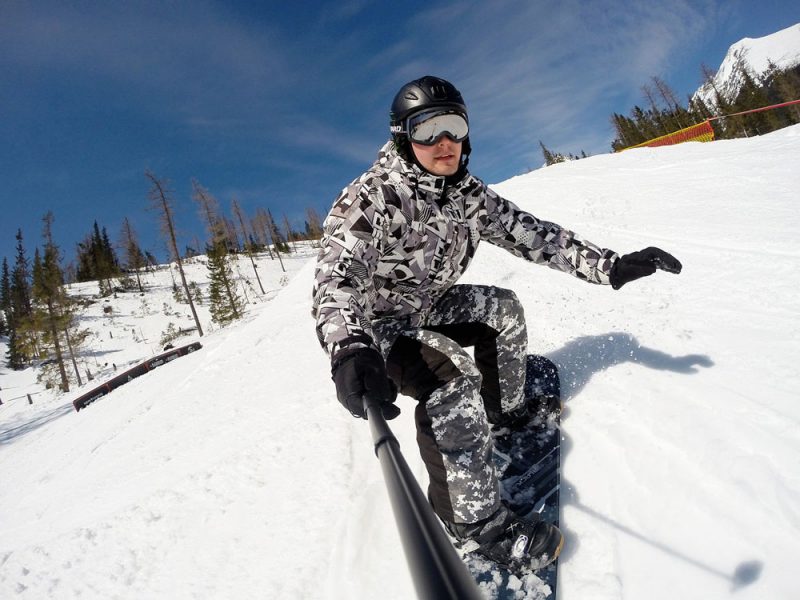
If you’re a snowboarding addict and love watching online snowboarding videos, it may have crossed your mind a few times to take your own footage. Well, before you head out to the slopes with your GoPro and board, stop, and give this guide a quick read.
We’ve put together some of the best tips out there to help make you a snowboarding GoPro video expert.
Understanding The Settings
When you’re going to be recording your snowboarding adventure, it’s best to have your GoPro set at 720p and also at the maximum frames per second (fps) that your camera will allow. On the latest models of the GoPro, the max fps is 120.
This quality is the best for capturing some amazing footage and slow mo shots. Using the maximum fps creates a brighter and more defined image by allowing more light to enter the frame. If you’re videoing while just hanging around, half your frames per second as the maximum setting is unnecessary.
Using Protune Correctly
If you’re going to be editing the footage you’ve captured yourself, keep Protune turned off. It can make the raw video you’ve recorded look flat and dull. If you’re going to take your GoPro video to a professional editor, then leave Protune on, as it allows the expert to have more brightness and color range.
Shoot from A Range of Angles
When you’re shooting your run, don’t just do it once. Re-do it a few times, but each time, mount the camera in a different position to get a range of different angled footage.
If you’re filming a friend, change where you’re standing each time, you could even crouch down and get some great worm’s eye view footage. You can edit all of the different shots together to create an exciting multi-dimensional video.
If you’re not sure where to start, here are some placement and angle suggestions for your GoPro. You can use these shooting tips to capture some breathtaking views:
Full Body Shot – Get a full shot of the snowboarders featuring in the film. You can do this by putting the GoPro onto an extending pole and following each other down the slopes.
Upper Body Shot – A medium shot just shows the upper half of the snowboarder. Again, you can film this on an extending pole or ski pole. If you’re more of an advanced snowboarder, you could try recording from a spinner. This device attaches to your helmet and rotates around you as you shred the powder.
Face Shot – A face shot allows the viewers to see the snowboarder’s facial expressions. You can capture a shot like this by using a GoPro chest harness and pointing it upwards towards your face.
Area Shot – Take a video of the area where you’re going to be snowboarding. This shot will give your viewers a great introduction to the environment. You can mount your GoPro on a tripod, or use the environment by placing it on a rock or in a tree. Alternatively, you could use a drone to capture some aerial shots.
Point of View Shot – This shot captures the view of the snowboarder. You can achieve this perspective by having the GoPro mounted on the side of your helmet or the top.
Up Close and Personal – Close up footage can look ace. If you’re recording a friend performing a trick or going over a jump, try and get as close as possible to capture the shot.