 Your Privacy Choices
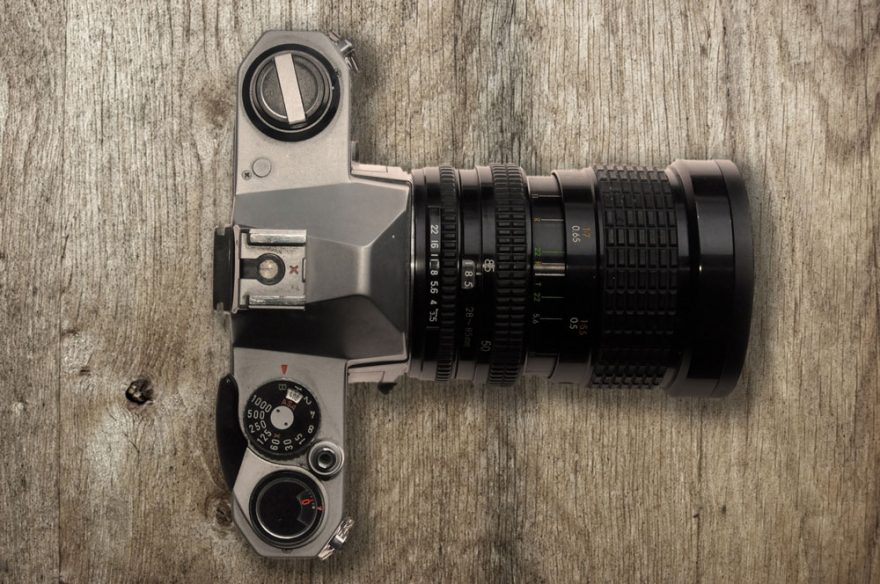
So, you’ve just upgraded your little pocket camera to a full blown DSLR in order to step up your travel snaps. Well, if you’re a beginner to cameras like this, you might be in for a bit of a shock.
There are way more setting and configurations than you had realised. Some of them can make a big difference too. When you’re taking shots you want to keep, it’s important to get the settings right, because it can make or break your photo.
There’s nothing worse than snapping away then uploading your shots to your laptop later that day to find that they’re all grainy, underexposed or even out of focus.
Well, to save you the pain, here’s a beginner’s guide to understanding what the basic functionalities are of your new DSLR.
ISO
On the screen of your camera somewhere, you will see an option edit the ISO. The ISO basically refers to your camera’s sensitivity to light. The bigger the number of the ISO, the more sensitive it is to light.
What does this mean for you?
Ideally, you should aim to have the ISO on its lowest setting at all time. The higher the ISO the brighter your photo will be, but the more noise (you know, when it goes all grainy and pixelated?) you will have. Of course, you may need to increase the ISO in low light situations, however you should try to keep it as low as possible.
So, without adjusting the ISO, how can we make our photo come out brighter? Let’s go onto aperture.
Aperture (f number)
The aperture is a hole within the lens of your camera. The wider the hole, the more light is let in, causing a brighter image. What’s confusing for beginners, is that a smaller ‘f’ numbers means a bigger aperture. So, f/1.4 is a much bigger aperture than f/8.0 meaning the photo will be brighter.
It is recommended to play around with the aperture of your camera, before resorting to having a higher ISO so that you don’t risk damaging your photo.
Shutter Speed

The next main component to determining the exposure and effect of your photo is the shutter speed. This one tends to be a bit easier for people to understand. The slower the shutter speed, the more movement you will capture in your image. This means that if you have a fast moving subject such as someone running, or a waterfall, then you will need to have a faster shutter speed to freeze the motion.
If you want the motion to be a bit more blurred, then you simply need to adjust the shutter speed to be slower. Of course, the slower the shutter speed, the lighter your shot will be. So, if you need a slow shutter speed, you might need to close the aperture (have a bigger number) and also have a low ISO to darken the image.
Playing with Shutter Speed, Aperture and ISO
Those are the main three components of understanding the manual settings of your camera. Each one affects the exposure of your image; which basically means how bright or dark it is.
Placing the camera on manual mode and experimenting by adjusting one setting at a time is the best way to learn what to do with a camera. Remember, you’re aiming to keep the ISO low to avoid making the shot too grainy.
Which Setting to Choose
For beginners, ‘aperture priority’ is usually easier to get used to, as it controls the shutter speed and ISO for you; all you have to do is control the aperture. This mode is usually signalled by the letter ‘P’.
Alternatively, you can put the camera on full manual mode, ‘M’, which will give you much greater flexibility with your shots. If you’re not shooting in a pressure situation and you can take your time, it is well worth shooting in manual to quickly learn what happens when you tweak settings.