 Your Privacy Choices
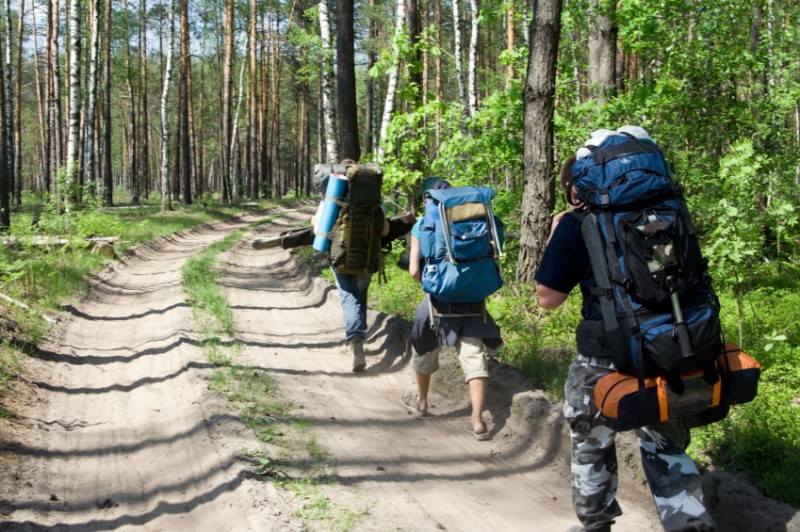
A homemade backpack cooler is cost-effective and will have you eating better on the trail.
One of the biggest problems people face when preparing to embark on an extended backpacking trip is how to carry food and, more importantly, keep the cold supplies cold. While some packs are created as coolers from the ground up with little room for anything else, these options can become costly–especially if you were preparing to use your already-purchased equipment. For people with a traditional pack lacking a cooler, check out the Instructables post by RobbySkateboard about how to make a DIY cooler for extended trips.
At a cost of about $10 and a creation period of one hour, this homemade cooler is a great option for those looking to save some money but who still want to be well-fed on their adventure. After purchasing two thermal bags, a Mylar emergency blanket, cold packs, scissors, and duct tape, follow the instructions to build your cooler. With your newly-created cooler, you are now ready to pack ingredients that could not have been included before, leading to an array of recipes that can be made along the backpacking trip. Some of the following recipes do not need a cooler, but many include the need for heat, so pack a cook set of your preference. Mix all dry ingredients for each recipe into a zipped bag before departing to make cooking on the trail an easier process. All recipes are based on one serving. Some recipes courtesy of Wild Backpacker.
Breakfast
Original Oatmeal: Because of the expansion of the oats, this is a great choice for backpackers because of the light load that creates more food. Boil about four cups of water (depending on how much oatmeal is needed). After the oats cool, add brown sugar, raisins, dried fruit, nuts, peanut butter, chocolate chips, or any topping of your choosing. This is an easy recipe that is filling, especially when protein is incorporated.
Breakfast Scramble: Combine about two cups of instant mashed potatoes, 1/2-cup freeze-dried eggs and bacon, 1-1/2 cups water, one tablespoon milk, and cheddar cheese. Heat water and add it to the mix until it gets fluffy, which will take about five minutes.
Hiker’s Pancakes: Combine one cup of pancake mix, one tablespoon sugar, one tablespoon milk, 2/3-cup water, one tablespoon margarine, and blueberries or chocolate chips if you want additional ingredients. After adding the liquid/cold ingredients to the zipped bag of dry ingredients, squeeze the bag until everything is mixed. Cut a hole in the bottom corner of the bag and pour the mix into a hot pan and make sure you pack a utensil to flip the pancakes with.
Lunch/Dinner
Pita Pizza: This is one of the easiest recipes that people can tailor to their own tastes. Take either pita pockets or wraps depending on what you prefer. Spread marinara on the bread, add cheese, pepperoni, along with any other ingredients you desire.
Ham and Pea Ramen: Ingredients include several packages of ramen noodles, ham, parmesan cheese, and red pepper flakes. Toss the seasoning, boil the ramen, and add the peas, cheese, ham, and red pepper flakes.
Tuna Spaghetti: Pack an eight-ounce package of angel hair pasta, six-ounce can/packet of tuna, tomatoes, basil, oregano, parmesan cheese, and garlic powder. Put the basil, oregano, parmesan, and garlic powder in a zipped plastic bag before you leave on your trip. Boil the pasta, drain the water, then add the remaining ingredients.
Image © iStockPhoto/Alexey Fursov