 Your Privacy Choices
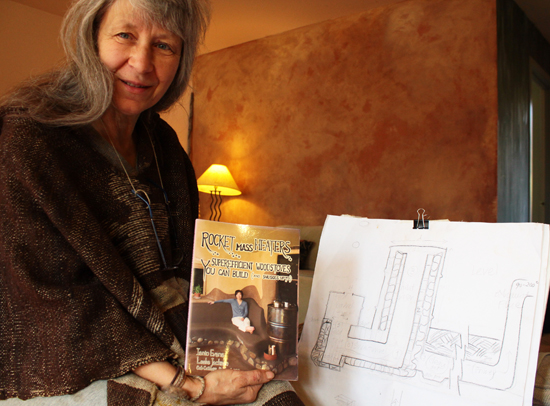
A rocket stove is a device used to cook meals or heat space not only in the outdoors, but wherever the builder chooses to construct it, as it’s a home-made device. Rocket stoves can be made out of bricks, tin cans or other high-heat compatible material. Only a small amount of fuel is necessary to keep the rocket stove going at incredibly high temperatures, making it very efficient.
We’ve put together two videos on Outdoor Hub detailing how a rocket stove works and a tutorial on how to make one. Find those videos by clicking here. This article is just the short version of the information found in those videos for quick reference during the building process.
Here is a pictorial of the basic stove we will build. Not the whole rocket stove mass heater as is shown in the photo, but just the “guts” of the system that may be used to heat or cook on by itself.

The feed tube is the first arrow down, combustion chamber the horizontal line, and the chimney the third arrow leading out of the system.
This tutorial will make a rocket stove using bricks. Begin by securing your ideal brick. ***Careful! Some stone and brick will BLOW UP if under high heat!*** Common redbrick (soft) often found in old houses is good. Kiln brick, or any other fire brick is ideal (made of clay and fired until its hard).
Lay a level foundation with your bricks that are placed horizontally and parallel to each other at 7 inches apart with two bricks closing off the system at both long ends. The length of your foundation depends on how high you want the chimney to be. Remember the ratio of the burn tunnel to the chimney is 1 to 2. So if you want a three foot tall chimney, the burn tunnel is recommended to be 1.5 feet in length.

Lay another layer of bricks down on their short-width long side now. When stacked, the new layer of bricks should equal 7 inches vertically with the ones already laid down as the foundation. Then begin to build your feed tube.

Next start to build your feed tube. Simply lay your bricks vertically again at the edge of one end.

Following that, lay down your burn tunnel brick-by-brick bridge-like. Make sure they are as close as they can be so that they leave no crack in between bricks. Your strongest, most durable bricks should go here as this chamber will need to withstand the highest temperatures.

 Now you can start to begin building the chimney. Lay the bricks down like you would close box flaps. One side first and overlapping another instead of just touching each other. (right)
Continue building up the chimney by placing each following brick at the edge that would cover the crack created by the bricks below. (below)

Continue building your layers all the way up until you are satisfied with the height. At this point, the rocket stove should be more-or-less complete and will be ready for use momentarily. If you’ve used bricks that have big man-made holes in them, take some time to patch up those holes with clay or mud. Patch up any other holes or cracks that have appeared as you put up the chambers.
After you have all your pieces in place and any holes patched, you are ready to begin burning your fuel-type. Begin just like any other fire with kindling, newspaper and thin small sticks. Just remember when lighting your rocket stove to try to get the bulk of your fire going inside the burn chamber, meaning you should insert your fuel resource diagonally into the feed tube so that it ends up underneath the first few bricks of the burn tunnel.

And now you’ve got your rocket stove! We welcome you to expand on what you’ve built by experimenting with other designs and materials.
Here are just a few examples of what else can be done with your rocket stove:

Many other examples and instructions can be found in the Rocket Mass Heaters book by Ianto Evans and Leslie Jackson. Many thanks to Deanne Bednar for her knowledge and help in creating this article and videos. Visit her at StrawbaleStudio.org.
Photos by author
